
A skincare counter brief should explain how packaged products, testers and brand messages work together. Start with the actual product range and available counter space, then define the supports, access and artwork required for the launch.
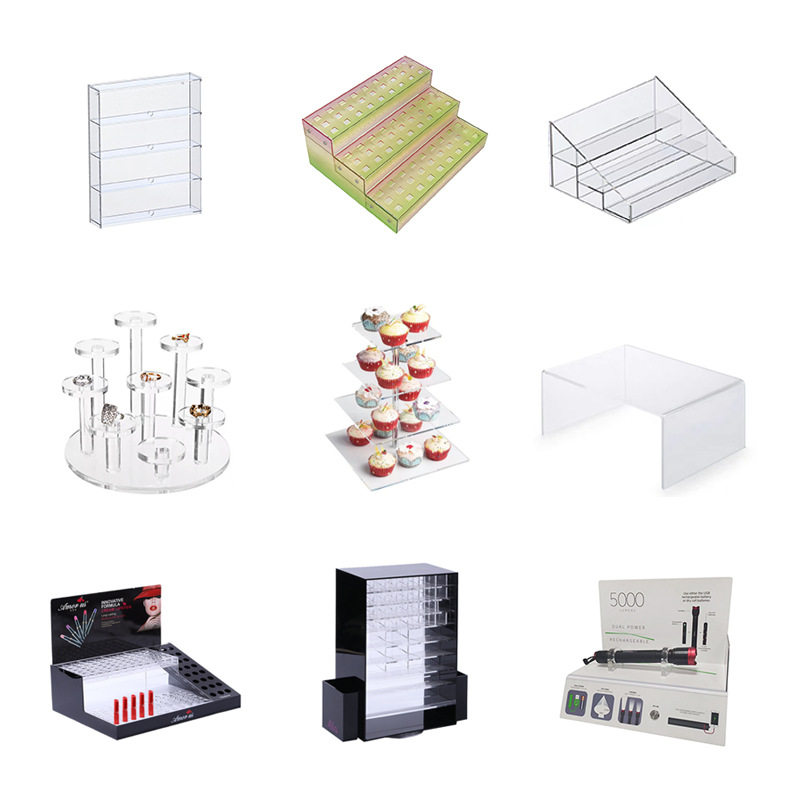
Product reference image: the final skincare layout, finish and supports are developed around the project brief, not inferred from the photograph.
Build a product and tester schedule
Record the dimensions and weight of each bottle, jar and carton. Distinguish the packaged selling unit from the tester, since their dimensions and handling can differ. State the number of facings and stock positions rather than asking for a display that simply holds a whole range.
| Position | Information needed |
|---|---|
| Hero product | Item dimensions, orientation and desired viewing position |
| Packaged stock | Carton dimensions, units per position and replenishment direction |
| Tester | Container dimensions, handling routine and likely contact with liquids |
| Message panel | Artwork size, visible face and relationship to the displayed products |
| Counter footprint | Available width, depth, height and adjacent equipment |
Use the custom acrylic cosmetic display brief for a coordinated project. The display stand and rack page covers individual fixture specifications.
Separate customer access from replenishment
Show how a shopper picks up and returns a tester without moving packaged stock. Identify bottle positions, supporting surfaces and any removable inserts. Check that graphics and shelf spacing leave the products visible from the intended approach.
Ask store staff to review the replenishment layout. A display that fits the products in a drawing may still be difficult to refill or clean when placed beside other counter equipment. Include these access conditions in the sample review.
Describe cleaning and liquid exposure
Provide the intended cleaning routine and any likely spills or contact with cosmetic formulations. The material name alone does not establish compatibility with every liquid, cleaner, printed surface or bonded joint. Ask for project-specific material review and evaluate the sample under the agreed conditions.
Care requirements should be recorded with the finished display. See the acrylic maintenance guide when preparing handling and cleaning questions.
Approve artwork and layout together
Send the logo and final wording with a dimensioned placement reference. Identify variant artwork and quantities for each campaign or product range. Use the actual bottles, cartons and testers when reviewing spacing, viewing angle and the relationship between artwork and merchandise.
If a later launch changes the bottle size or tester format, review the affected supports and inserts rather than assuming the existing layout will fit. Keep the approved artwork and drawing revision with the order.
Sample approval and rollout checklist
- Confirm that all intended products fit and can be picked up and returned.
- Review stability and support under the agreed product arrangement.
- Check print placement, visible surfaces, joints and edges against the approved brief.
- Confirm staff access for replenishment and the intended cleaning routine.
- Agree on assembly, protective packing and labels for any store-specific variants.
- Record changes before approving production; distinguish sample and shipping milestones.
Use the sample approval checklist to keep the accepted configuration traceable. To compare quotations, send the same product schedule, drawing, artwork, quantity and destination with each request.
Can the same unit be used for every skincare range?
Only after reviewing the different products and handling requirements. Send the proposed size range and tester arrangement so shared supports or removable inserts can be assessed for the actual project.